Healthy (well, mostly healthy) seasonal recipes for everyone! Even if you are gluten-free, dairy-free, or follow other special diets, let me show you how. Whether you're an experienced cook or are just learning to cook, as a professional chef and experienced recipe developer, I make sure these recipes will work for you. Real food for real life through fresh cooking and nutritious eating. Join us!
Mother's Day Recipe Ideas
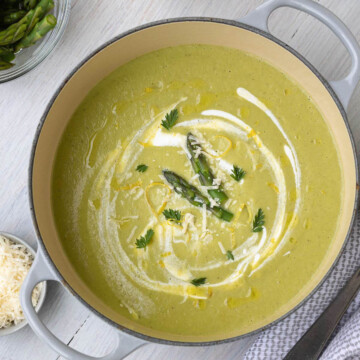
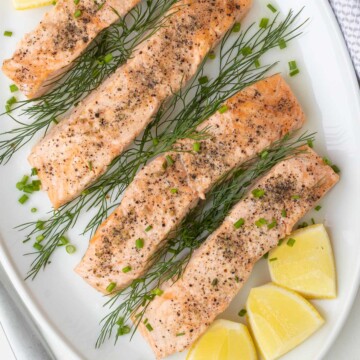
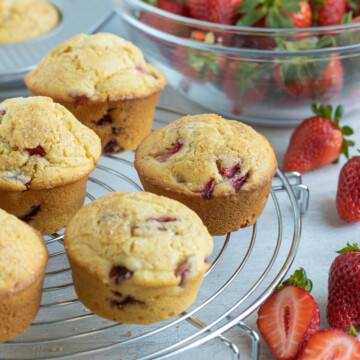
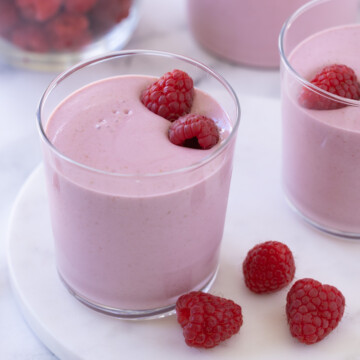
Celebrate the the mom's in your life over a delicious breakfast, brunch, or dinner. Fresh spring ingredients like asparagus, salmon, and strawberries make it delicious and these recipes make it easy.
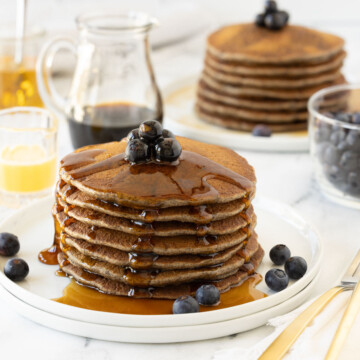
The Latest Fresh Recipes
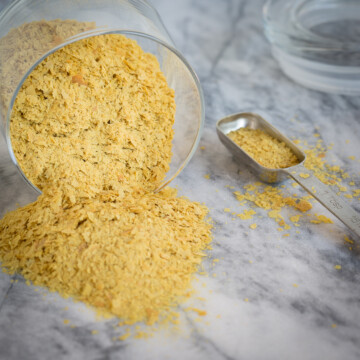
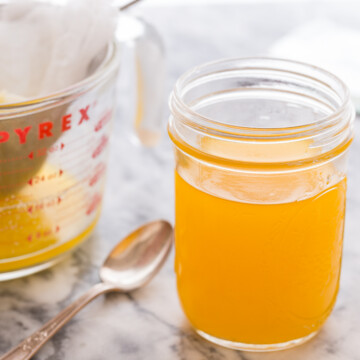
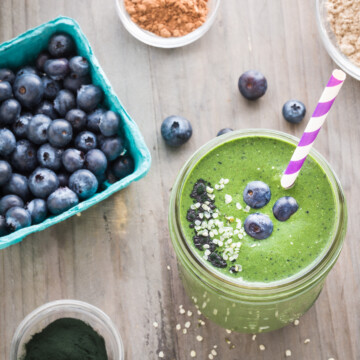
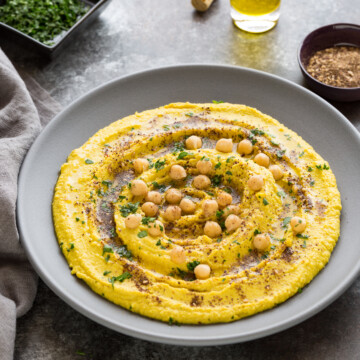
The latest recipe with nutritious ingredients to treat your tastebuds and your tummy, plus keep you healthy and filled with energy.

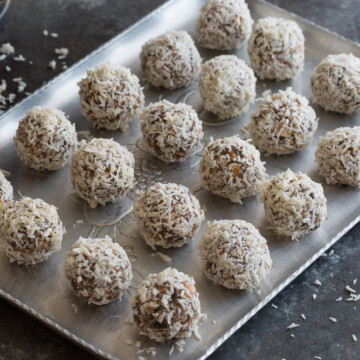
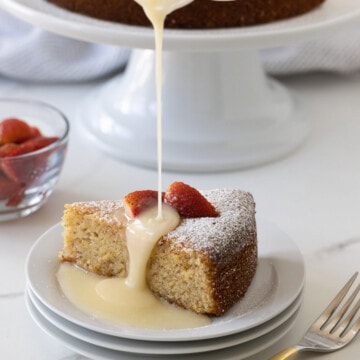
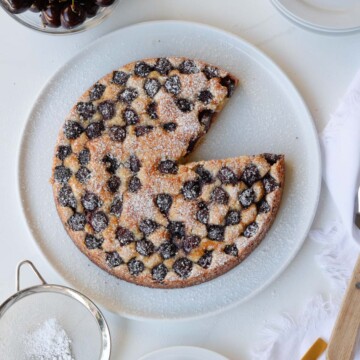
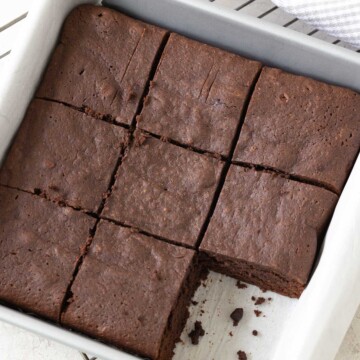
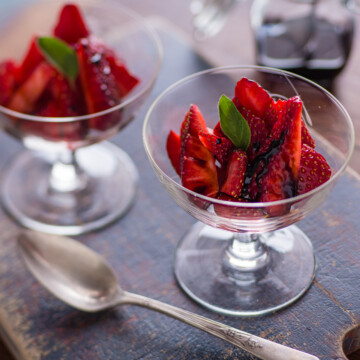
Delicious Dessert Recipes
We all appreciate a little dessert from time to time and these recipes will not disappoint! Find easy cakes, simple strawberries, even chocolatey brownies
Find Your Next Meal


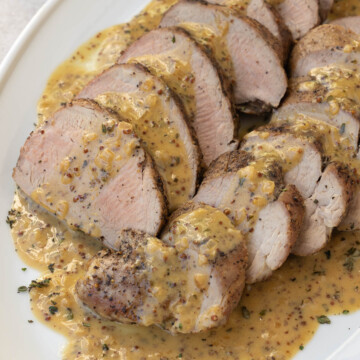
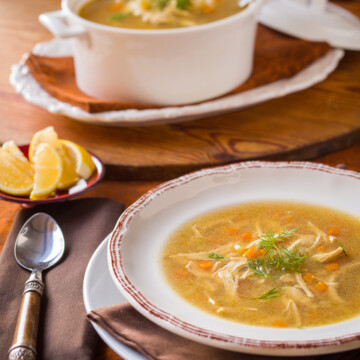
Easy Chicken Dinner Ideas
Recipes to help you answer the "what's for dinner" question for your hungry crew or just you. Leftovers make great lunches.
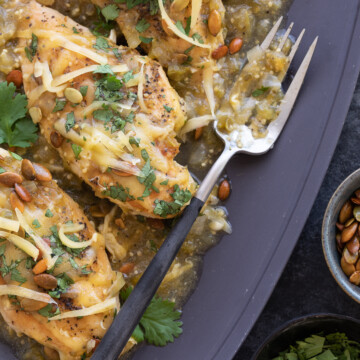
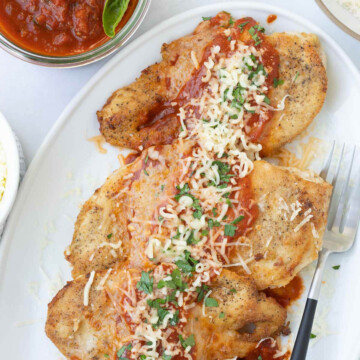

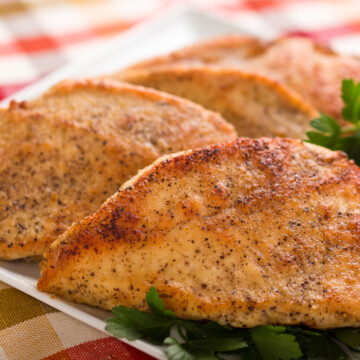
See more chicken & turkey recipes →
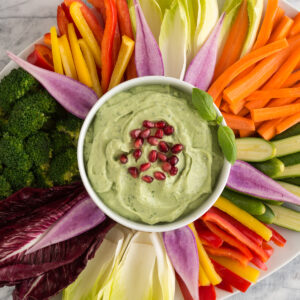
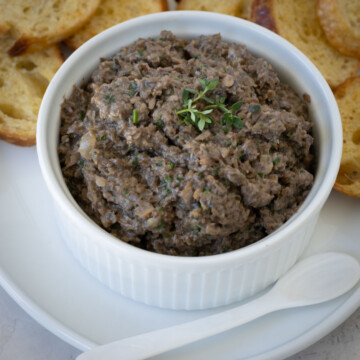
Super Snacks and Appetizer Recipes
A collection of appetizers and snacks to keep everyone happy, whether an afternoon nibble, pre-dinner bites for hungry family and guests, or game day eats. Find it here.
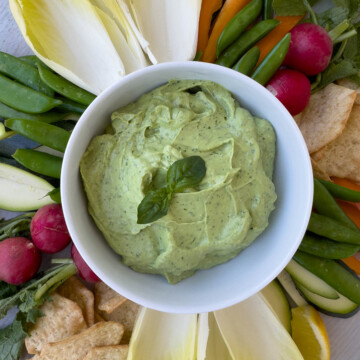

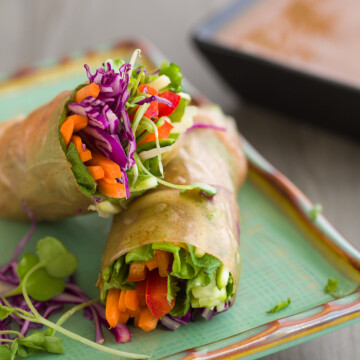
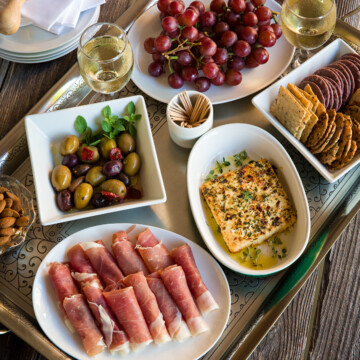
See more appetizer & snack recipes →
Super Soups
Satisfying super soups for healthy dinners and lunches, from hearty and meaty to creamy and vegan, find lots of terrific options.
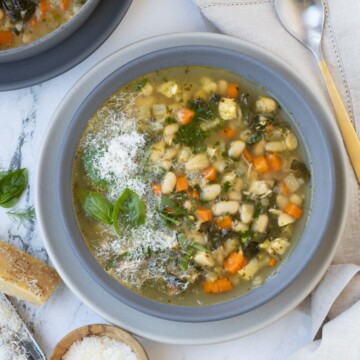
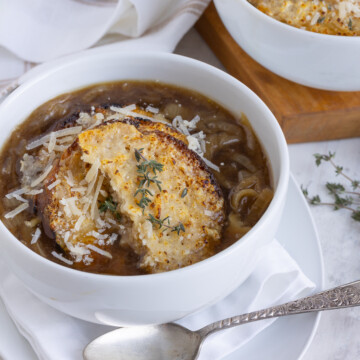
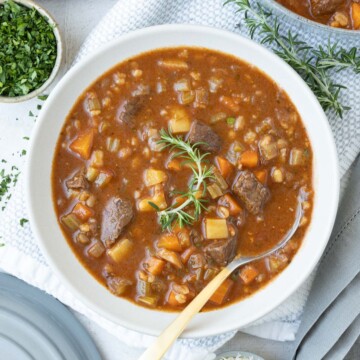
See more Soup, Stew, & Chili recipes →

About Sally
Welcome! I'm Sally, a professionally trained chef, experienced recipe developer, and health coach. My passion is cooking fresh healthy food and teaching others to cook it too. Find easy recipes for everyone, including gluten-free, dairy-free, plant-based, and more. Join me in cooking and living for your best life ever!
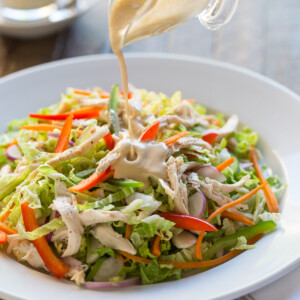
Creative Salads From Greens to Beans
Satisfying salads from green salads to bean salads, side salads or entree salads, from hearty and meaty to creamy and vegan, find lots of terrific options and delicious dressing to complete them.
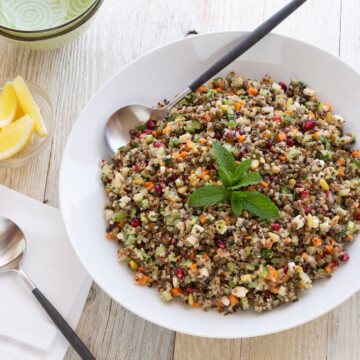
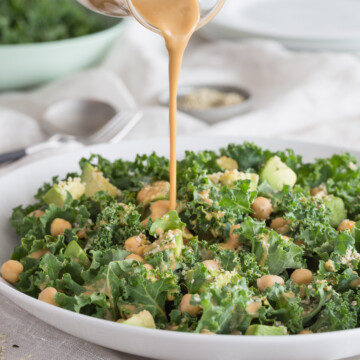


See More Salad and Dressing Recipes
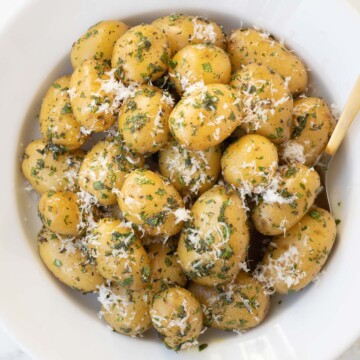
Reader Favorite Recipes
Here are some of the most popular reader favorite recipes on my site.

Recently Updated
Recipes recently updated, freshened up with new photography and notes, improved structure and more helpful content just for you.